How to Stop a Cat From Peeing Outside the Litter Box
Cat peeing outside litter box? Learn how to rule out urgent problems, improve the setup, remove odors, and prevent repeat accidents.
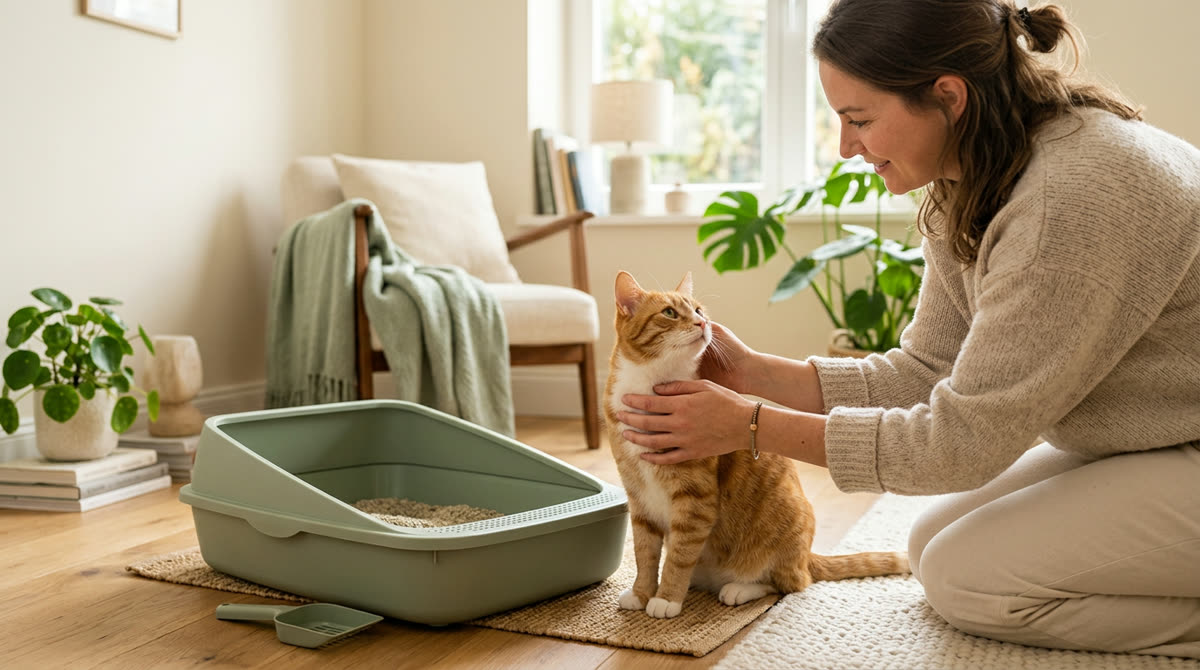
A calm, safety-first approachThis guide provides general education. Contact your veterinarian when symptoms are painful, persistent, or unusual.
- 1
Check for urgent signs and arrange a veterinary visit
The first step in stopping a cat from peeing outside the litter box is checking for a medical problem, not assuming your cat is misbehaving or unhappy with the litter. If your cat repeatedly strains, makes frequent trips with little or no urine, cries while trying to pee, or develops vomiting or marked lethargy alongside urinary difficulty, stop troubleshooting and contact an emergency veterinarian immediately. An inability to pass urine can be life-threatening, particularly in male cats, and a few drops do not reliably rule out an obstruction. If you cannot tell whether your cat is trying to urinate or defecate, describe the behavior to a veterinarian rather than waiting to see whether it resolves. Even when your cat appears comfortable and produces normal-sized puddles, call your veterinarian promptly about new or recurring accidents, especially if you notice blood, increased thirst, weight loss, or changes in appetite. Share when the accidents began, any previous urinary problems, and whether your cat is producing more or less urine than usual; the veterinarian can decide whether an examination and urine testing are needed. Do not give human painkillers, leftover antibiotics, or urinary supplements, because inappropriate treatment can harm your cat and delay the right care.
- Emergency: repeated straining with little or no urine
- Emergency: urinary difficulty with vomiting or marked lethargy
- Call promptly: blood, increased thirst, or new accidents
- Report previous urinary problems and current medications
Good to know: Do not press on your cat’s abdomen or try to express the bladder. Suspected inability to urinate needs immediate professional assessment.
- 2
Record when, where, and how your cat pees
While arranging veterinary care, start a simple diary for 3 to 7 days to identify patterns without delaying an examination. Record the time, location, approximate amount of urine, body posture, nearby activity, and whether a litter box had just been used by another cat. A cat that backs up to a vertical surface with a raised, quivering tail and releases a small amount may be spraying, while squatting and leaving a larger puddle more often resembles ordinary urination outside the box. These clues help guide the investigation, but they do not establish a diagnosis, and marking and medical problems can occur together. Note recent changes such as a new pet, visiting children, construction noise, a different litter brand, or a box moved behind a closed door. In a multicat home, a motion-activated camera aimed at the problem area can help identify the cat involved and reveal staring, chasing, or doorway blocking that you might otherwise miss. Photograph affected spots and bring your notes to the veterinary visit, but never punish your cat, rub their nose in urine, or carry them angrily to the box, because fear can make elimination problems worse.
- Time, location, and approximate puddle size
- Squatting versus standing with a raised tail
- Changes in thirst, appetite, or box visits
- Household changes and interactions between cats
Good to know: Urine clump size varies with litter type and depth, so compare patterns within your own setup rather than treating a particular clump size as a medical test.
- 3
Remove urine odors completely
Clean every accident with a cat-urine enzymatic cleaner labeled for the affected material, because lingering odor can encourage your cat to revisit the same spot even when you can no longer smell it. For fresh urine, put on gloves and blot firmly with white paper towels or an absorbent cloth, working from the outside inward rather than scrubbing the liquid deeper into carpet or upholstery. Test the cleaner in a hidden area, then apply enough to reach the same depth as the urine and follow the label’s exact contact time, rinsing instructions, and drying requirements. Carpet padding, sofa cushions, and mattress layers may need treatment beyond the visible stain, while repeatedly soaked padding or damaged flooring may require replacement. Avoid ammonia-based cleaners, do not mix cleaning chemicals, and never apply bleach to urine-contaminated areas because hazardous fumes can result. Keep your cat away until the surface is safe according to the product label, and avoid steam cleaning before the urine contamination is removed because heat can make stains and odors harder to eliminate. Once the area is clean, use a washable waterproof cover or temporarily close access where practical, but provide an appealing alternative litter box before blocking a favorite toileting location.
- Blot fresh urine before applying cleaner
- Choose a cat-urine enzymatic product
- Treat the full depth of contamination
- Protect the spot while it dries
- Recheck for odor before reopening access
Good to know: A UV flashlight can help locate some dried urine deposits, but it will miss some stains and highlight unrelated residues. Use it as a search tool, not proof that an area is clean.
- 4
Provide enough large, accessible litter boxes
Set up one litter box per cat plus one extra, so a single-cat household starts with 2 boxes and a three-cat household starts with 4. Spread these boxes across separate locations rather than lining them up side by side, because neighboring boxes do not provide a meaningful escape from a noisy room or another cat guarding the area. Choose a box approximately 1.5 times your cat’s length from nose to the base of the tail, with enough interior space to turn around, dig, and squat without pressing against the sides. A large uncovered box is a useful starting point because it offers visibility and ventilation, although individual cats may show a clear preference when given alternatives. For kittens, older cats, or cats that appear stiff, offer a stable box with a low entrance—often around 2 to 3 inches—while retaining higher sides elsewhere to contain litter and urine. If your cat stands inside but urinates over the edge, try a larger, high-sided box with an accessible doorway rather than assuming the cat is deliberately missing. A roomy plastic storage tray can be a budget-friendly option if it is stable, washable, and free of sharp edges, but avoid introducing a self-cleaning box as your only solution because movement and motor noise can frighten some cats.
- Start with the number of cats plus one box
- Choose enough space to turn and dig comfortably
- Offer at least one large uncovered option
- Use a low entrance when mobility is limited
- Keep an ordinary box available beside automated options
Good to know: New hesitation about climbing into a box, jumping, or using stairs deserves a veterinary discussion. An easier entrance helps access but does not address the cause of discomfort.
- 5
Choose quiet locations with safe escape routes
Place litter boxes in quiet, consistently accessible areas where your cat can see what is approaching and leave without passing another animal. Avoid positioning the only box beside a washing machine, furnace, busy exterior door, or other source of sudden noise, because one frightening experience can create a lasting aversion to that location. In a multilevel home, provide at least one box on each level your cat regularly uses, particularly when stairs may be difficult or urgency makes a distant box impractical. Keep boxes away from food and water stations, using a separate area or room where possible, and make sure household members do not accidentally shut access doors. If your cat repeatedly urinates in one clean, quiet corner, place an additional box directly over or beside that spot rather than expecting the cat to immediately abandon an established preference. After the cat has used the new box reliably for 1 to 2 weeks, move it only a few inches per day toward a more convenient position, stopping or reversing the move if accidents return. Where dogs or children disturb toileting, use a cat-accessible gate or protected room, but avoid a setup that requires painful jumping or leaves the cat trapped in a dead-end corner.
- Keep access open day and night
- Offer a box on each regularly used floor
- Avoid noisy appliances and busy bottlenecks
- Separate toileting from food and water
- Check for ambush points near entrances
Good to know: A box hidden neatly inside furniture may suit the room better than the cat. Prioritize easy entry, usable space, and an unobstructed exit over concealment.
- 6
Test litter preferences and improve daily hygiene
For many adult cats, a fine-textured, unscented clumping litter is a useful starting choice, but retain a familiar option if your cat already has a strong preference. Fill the box to approximately 2 to 3 inches deep, then adjust if observation shows that your cat struggles with unstable footing, avoids deep litter, or repeatedly digs down to bare plastic. To compare substrates, offer 2 otherwise similar boxes with different unscented litters in similarly safe locations for about 1 to 2 weeks, recording both urine and stool use. Keep other features as consistent as possible during the comparison, because changing the box, litter, depth, and location simultaneously makes the result difficult to interpret. Scoop at least once daily and preferably twice daily while accidents are occurring, remove soiled material promptly, and top up to maintain a consistent depth. Follow the litter manufacturer’s replacement guidance and wash boxes regularly, often every 2 to 4 weeks for clumping-litter setups and sooner if dirty, using mild unscented soap followed by thorough rinsing and drying. Avoid scented deodorizers, strongly fragranced cleaners, and liners that snag claws, and keep the established box available until your cat is reliably choosing the replacement.
- Start with unscented litter and a moderate depth
- Offer choices instead of making an abrupt switch
- Scoop once or twice daily
- Wash, rinse, and dry boxes thoroughly
- Replace badly scratched boxes that retain odors
Good to know: If a young kitten eats litter, ask your veterinarian which substrate is appropriate before using clumping litter. Persistent litter eating at any age also warrants veterinary advice.
- 7
Reduce stress and address urine-marking triggers
If your diary suggests that accidents follow household tension or outside-cat sightings, reduce those triggers while continuing the medical and litter-box plan. Provide separated food and water stations, scratching surfaces, hiding places, and elevated resting spots so one cat cannot control access to every important resource. Aim for 2 short interactive play sessions of about 5 to 10 minutes daily, adapting the activity to your cat’s mobility and interest, and keep feeding and household routines reasonably predictable. For spraying near windows or exterior doors, try opaque film on the lower portion of the window, restrict views during busy outdoor-cat periods, and avoid leaving food outside that attracts unfamiliar cats. If your cat is not spayed or neutered, discuss the procedure with your veterinarian because it can reduce hormone-related marking, although it does not guarantee that every established behavior will disappear. A feline pheromone diffuser may help some cats as an adjunct, but use it according to the label and assess it over several weeks rather than relying on it instead of sufficient boxes or veterinary care. Reward calm behavior and voluntary box use with gentle praise or a small treat after your cat has finished and walked away, and never interrupt elimination, force the cat into the box, or use startling deterrents.
Good to know: Hissing and fights are not the only signs of conflict: prolonged staring, following, and blocking hallways can keep a quieter cat away from the litter box.
- 8
Troubleshoot persistent accidents without overwhelming your cat
If your cat keeps peeing outside the litter box after you address urgent concerns and improve the setup, review the exact pattern instead of making several new changes at once. Urine immediately beside the box may point toward access, box size, substrate preference, or discomfort as issues to investigate, whereas recurring wet spots on bedding may suggest a surface preference, but neither pattern identifies the cause on its own. For a cat choosing soft surfaces, keep laundry in closed hampers, protect mattresses with waterproof covers, and offer a large box with fine unscented litter close to the preferred spot. If urine lands outside while the cat is standing in the box, check the cat’s posture and available space before switching to a covered design that could make the interior feel cramped. When a temporary smaller area is necessary for cleaning or observation, use a comfortable, familiar room with separated food, water, bedding, hiding space, play, and suitable boxes—not a bare bathroom or crate used as punishment. Check frequently for distress, restore access if the arrangement increases agitation, and seek professional guidance before continuing room restriction. Contact your veterinarian again if accidents persist, worsen, or recur after improvement, and request referral to a veterinary behaviorist or a qualified feline behavior professional when medical assessment and practical changes have not resolved the problem.
Good to know: Repeated squatting, straining, or reduced urine output is not a reason to extend a litter trial. Stop the trial and seek urgent veterinary advice.
- 9
Track progress and maintain the successful setup
Measure progress by recording daily accidents, successful box use, and comfort during urination, rather than expecting every cat to improve on the same timetable. Correcting an obvious access or cleanliness problem may help quickly, but established preferences and stress-related behaviors can require several weeks of consistent management. Review your diary after 7 days and again at 2 weeks, while following your veterinarian’s recommended recheck schedule and reporting a lack of improvement rather than continuing indefinitely on your own. Once your cat has been accident-free for 2 to 4 weeks, keep the successful litter, box size, cleaning routine, and resource distribution stable instead of immediately removing the extra boxes. If you need to change brands or move equipment later, preserve a familiar option during the transition and introduce only one change at a time. Continue providing fresh water in multiple accessible places, and discuss appropriate feeding and hydration strategies with your veterinarian rather than restricting water to reduce puddles or starting a therapeutic urinary diet yourself. Treat any relapse as information to investigate—not spite—and return first to checking urine output and health, then cleanliness, access, social pressure, and recent household changes.
- Log accidents and comfortable box use
- Review progress at 7 days and 2 weeks
- Keep veterinary follow-up appointments
- Maintain successful resources after improvement
- Recheck health and environment after any relapse



Ask about this guide
Leave a comment or a question about your own pet and the Pawlito assistant replies right away with practical next steps.