How to Clean a Litter Box the Right Way
Keep your cat’s litter tray fresh and inviting with a safe cleaning routine that controls odours without harsh chemicals or unnecessary disruption.
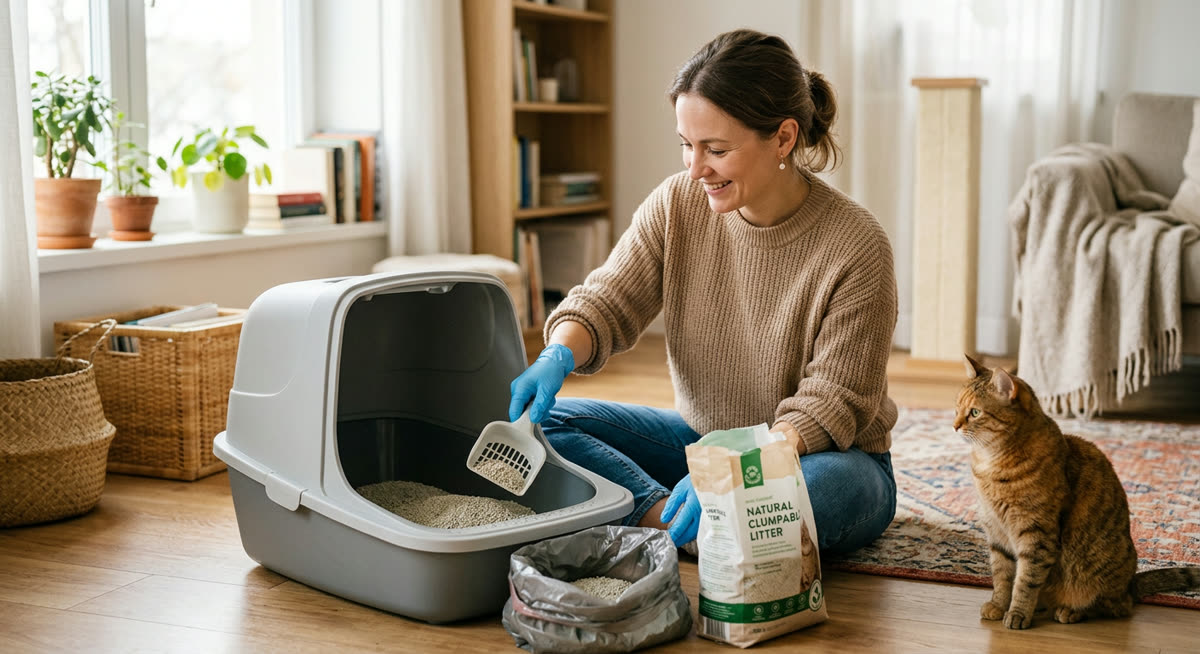
A calm, safety-first approachThis guide provides general education. Contact your veterinarian when symptoms are painful, persistent, or unusual.
- 1
1. Gather your supplies and plan the clean
Choose a quiet time when your cat is not using the litter tray, and gather everything before you start. You will need rubber gloves, a sturdy scoop, waste bags, mild unscented washing-up liquid, a dedicated cleaning brush and fresh litter. Check the tray and litter manufacturers’ instructions, especially if you use liners, unusual litter materials or a self-cleaning model. For an automatic tray, follow its shutdown instructions before dismantling anything, and never immerse electrical components. Keep another clean tray available while the first is out of use, particularly if washing and drying will take a while. Move supplies away from food preparation areas, and keep children and other pets out of the cleaning space.
- Rubber gloves and litter scoop
- Waste bags and a dedicated brush
- Mild unscented washing-up liquid
- Fresh litter and a drying cloth
- A spare tray if needed
Good to know: Store your tray-cleaning kit together in a washable container, separate from kitchen and general household cleaning tools.
- 2
2. Protect yourself and contain the mess
Put on gloves and cover any cuts on your hands with waterproof dressings before handling used litter. If you are pregnant or immunocompromised, ask someone else to clean the tray where possible because cat faeces can carry infections, including toxoplasmosis. If you must do it yourself, use gloves, remove faeces daily and wash your hands thoroughly afterwards; ask your healthcare professional about any additional precautions. Open a window if practical, but avoid placing a fan where it will blow litter dust around the room. Set a waste bag beside the tray on a washable surface or protective sheet so you do not carry loose waste across the floor. Keep cleaning products closed and out of your cat’s reach throughout the job.
Good to know: Choose a low-dust, unscented litter if dust is a recurring problem, and introduce any change gradually in a separate tray.
- 3
3. Scoop out waste at least once a day
Remove faeces and urine clumps at least once daily, checking more often if several cats use the trays. Slide the scoop beneath each clump and lift gently so it stays intact rather than breaking into contaminated crumbs. Allow clean litter to fall through the scoop’s slots, then place the waste directly into the bag. Work systematically from one end of the tray to the other, checking corners and the bottom for stuck material. For non-clumping litter, remove faeces daily and follow the product’s instructions for dealing with urine-soaked material and complete changes. Notice any marked change in the amount of urine or appearance of faeces, but do not try to diagnose a health problem from the litter alone.
- Remove all visible faeces
- Lift urine clumps gently
- Check corners and tray edges
- Notice changes in toileting habits
Good to know: Use a scoop with slots suited to your litter’s grain size so clean litter falls through without losing small waste clumps.
- 4
4. Empty the tray when a full change is due
Schedule complete litter changes according to the litter instructions, the number of cats using the tray and how quickly it becomes soiled. Many clumping litters can last roughly two to four weeks with diligent scooping, while non-clumping litter generally needs replacing more frequently. Empty the tray sooner if it remains smelly after scooping, the base is wet or dirty litter has become widely mixed through the clean material. Hold the tray close to the waste bag and pour slowly to minimise dust, using smaller loads if the tray is heavy. Seal the bag securely and put it in the appropriate household waste bin according to your local council’s guidance. Do not flush litter or cat faeces down the toilet, even if the packaging describes the litter as flushable.
Good to know: Treat the suggested change interval as a starting point, not a reason to leave a visibly dirty or persistently smelly tray in service.
- 5
5. Wash the tray with a mild, unscented cleaner
Remove loose particles into the waste bag before washing, rather than rinsing litter down a drain. Wash the empty tray with warm water and a small amount of mild unscented washing-up liquid, using a dedicated brush to scrub the base, corners and sides. Soak stubborn deposits briefly in warm soapy water, then loosen them without scraping deep grooves into the plastic. Clean any hood, removable rim and washable mat according to their care instructions, paying attention to seams where urine can collect. Avoid ammonia-based products, bleach, strongly fragranced cleaners, phenolic disinfectants and essential oils for routine cleaning, and never mix cleaning products. If your vet recommends disinfection because of an infectious illness, ask which product and method are suitable for your tray and follow the specified dilution, contact time and rinsing instructions.
- Scrub the base and corners
- Wash rims, seams and hood edges
- Use a dedicated cleaning brush
- Keep cats away during washing
- Never mix cleaning products
- 6
6. Rinse thoroughly and dry every surface
Rinse the tray with clean water until no foam, slippery residue or detergent smell remains. Check underneath removable rims and along joins, where soapy water can become trapped. Dry the tray with a dedicated clean cloth or paper towels, then let any remaining moisture evaporate before refilling it. A damp base can make fresh litter stick immediately and leave wet patches that are harder to scoop later. Inspect the clean tray for cracks, rough edges or deep scratches that trap dirt, and replace it if it cannot be cleaned properly. Wash the scoop and brush, rinse them thoroughly and allow them to dry away from food utensils and your cat’s belongings.
- No visible foam or slippery residue
- Corners and joins fully rinsed
- Base completely dry
- No cracks or sharp edges
- Scoop and brush cleaned
Good to know: Keeping a second identical tray lets you rotate them, giving each one time to dry completely without interrupting your cat’s routine.
- 7
7. Refill with familiar litter and return the tray
Refill the dry tray with your cat’s usual litter rather than changing both the litter and the cleaning routine at once. For many clumping litters, a depth of around five to seven centimetres is a useful starting point, but follow the product guidance and your cat’s established preference. Spread the litter evenly across the base without pressing it down. Avoid scented deodorisers, essential oils or fragrance powders, which can make the tray less appealing and are not substitutes for removing waste. Return the tray to its familiar, quiet location with an easy escape route, away from food, water and noisy appliances. Replace a clean litter mat outside the entrance without obstructing access, and let your cat investigate in their own time.
Good to know: Once you find a litter depth your cat likes, mark the level on the outside of the tray to make refilling consistent.
- 8
8. Troubleshoot lingering smells or tray avoidance
If an odour remains, check for missed waste, damp litter beneath the surface and urine caught under the tray, around the hood or on nearby flooring. Clean surrounding surfaces with a product suitable for both the material and a cat household, following all label precautions and keeping your cat away until the area is dry. If your cat hesitates to use the tray, check that it is large enough to turn around comfortably, easy to enter and free from strong cleaning smells. Offer an additional open tray in a quiet, accessible location rather than repeatedly moving the only tray or forcing your cat into it. Contact your vet about new or persistent toileting outside the tray, blood in urine or faeces, or a noticeable change in urine output, and never punish accidents. Repeated straining, frequent attempts that produce little or no urine, crying or obvious distress require urgent veterinary advice, because difficulty passing urine can be an emergency, particularly in male cats.
- Check under and around the tray
- Remove strong scents
- Review tray size and entry height
- Offer another accessible tray
- Seek urgent help for trouble urinating
- 9
9. Finish with handwashing and a reliable routine
Remove any scattered litter with a dedicated dustpan or suitable vacuum, and clean the surface where you washed the tray. Dispose of used paper towels, put reusable cleaning cloths in the wash and store products securely. Remove your gloves and wash your hands thoroughly with soap and water, even if the gloves stayed intact. Set a daily reminder to scoop, and check the litter level after waste removal so you can top it up as needed. In a multi-cat household, aim for one tray per cat plus one extra, spread across separate accessible locations rather than grouped together. Keep a simple record of full changes and any unusual toileting patterns so you can adjust the cleaning schedule and give your vet clear information if concerns arise.
Good to know: Pair the daily scoop with an existing habit, such as your evening tidy-up, so it is less likely to be forgotten.



Ask about this guide
Leave a comment or a question about your own pet and the Pawlito assistant replies right away with practical next steps.