How to Clean Your Cat's Ears Safely
Learn when your cat’s ears need cleaning, how to remove visible dirt gently, and which warning signs mean it’s time to call your vet.
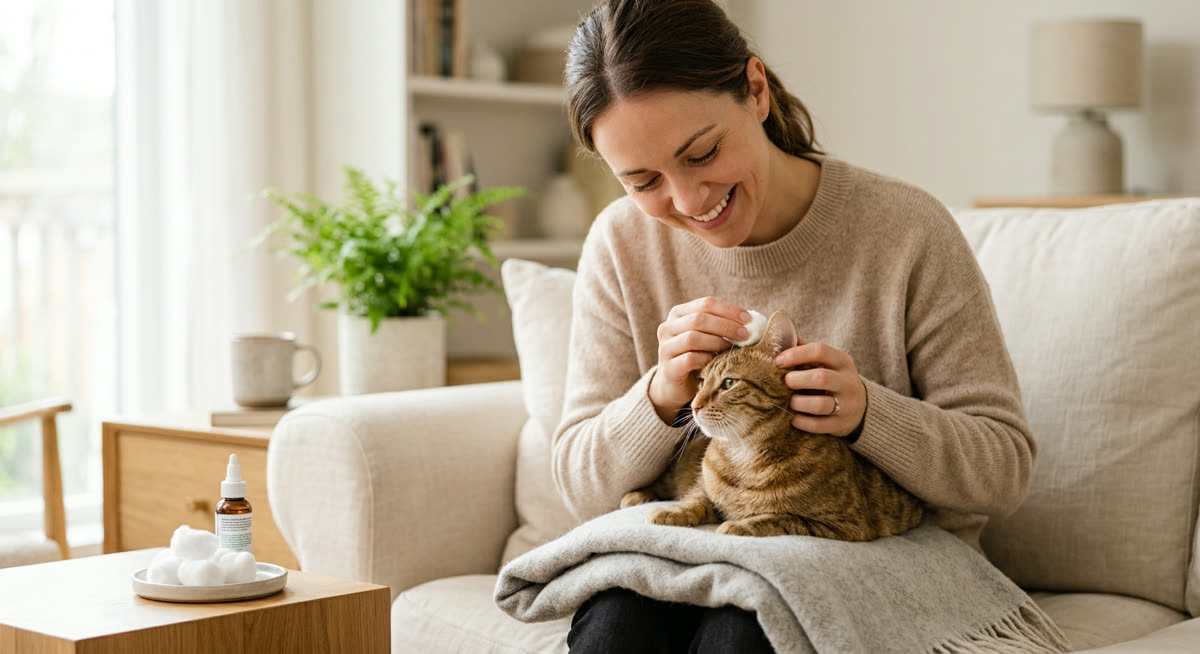
A calm, safety-first approachThis guide provides general education. Contact your veterinarian when symptoms are painful, persistent, or unusual.
- 1
1. Decide whether cleaning is actually needed
Check your cat’s ears during a quiet moment, but do not assume they need cleaning as part of every grooming session. Healthy ears usually have little visible debris, no strong smell and skin that is not red or swollen. If the ears look clean and your cat is comfortable, leave them alone rather than disturbing their natural protective wax. Contact your vet before cleaning if you notice repeated scratching, head shaking, an unpleasant smell, redness, swelling or unusual discharge. Dark, crumbly material can have several causes, so do not assume it is simply dirt or try to identify the cause yourself. If your cat has a known ear problem, a history of ear surgery or a current treatment plan, ask your vet whether home cleaning is appropriate before proceeding.
- Clean-looking, comfortable ears: leave alone
- Smell, redness or discharge: contact your vet
- Scratching or repeated head shaking: seek advice
- Previous ear problems: check the cleaning plan
Good to know: Get familiar with how your cat’s ears normally look so that changes are easier to spot.
- 2
2. Gather gentle, cat-appropriate supplies
Prepare soft cotton pads or gauze, a clean towel, a few small treats and, only if needed, an ear cleaner your vet has confirmed is suitable for your cat. For a small amount of dirt on the visible ear flap, a pad lightly dampened with lukewarm water is usually enough. Never pour water into the ear canal or use homemade mixtures, vinegar, alcohol, hydrogen peroxide, essential oils or human ear products. Do not use cotton buds, tweezers or other implements inside the ear, because they can push debris deeper or injure delicate tissue. Check the cleaner’s expiry date and label, and keep it at the recommended storage temperature rather than heating it. Wash and dry your hands, then arrange everything within reach so you will not need to leave your cat unattended halfway through.
- Soft cotton pads or gauze
- Clean towel and non-slip surface
- Vet-approved cleaner, if advised
- Small treats for rewards
- Waste bag for used pads
Good to know: Set aside separate pads for each ear to avoid transferring debris from one side to the other.
- 3
3. Settle your cat without force
Choose a quiet room with good light, close the door and keep other pets away. Sit on the floor or use a stable, non-slip surface where your cat cannot fall if they suddenly move. Allow your cat to sniff the towel and supplies, then offer a treat before briefly touching the outside of one ear. If your cat accepts this calmly, position them beside you or ask another adult to support their body gently without gripping their head tightly. A loose towel around the body may help a cat that already tolerates it, but leave the head free and never restrict breathing or tightly pin the limbs. Stop if your cat struggles, growls, pants or tries repeatedly to escape, and ask your veterinary team for help if safe handling is not possible.
- Quiet room with the door closed
- Stable footing and good light
- Gentle support, not restraint by force
- Treats for calm cooperation
Good to know: For a nervous cat, practise a brief ear touch followed by a treat on several occasions before attempting any cleaning.
- 4
4. Inspect and wipe the visible ear flap
Gently lift the ear flap only as far as your cat comfortably allows, without pulling or bending it backwards. Look at the visible inner surface and the entrance to the ear canal, but do not insert anything to get a better view. If you discover redness, swelling, sores, blood or discharge, stop and contact your vet rather than wiping the area clean. For a little surface dirt on otherwise comfortable skin, lightly dampen a fresh pad and squeeze out any excess liquid. Wipe the visible inner ear flap with gentle outward strokes, keeping the pad entirely outside the canal opening. Use a clean section of the pad for each pass and stop rather than scrubbing at material that does not lift away easily.
Good to know: Think of this as wiping the surface you can clearly see, not trying to reach every fold or remove every trace of wax.
- 5
5. Use ear-canal cleaner only if your vet has advised it
Skip this step if your cat only needed a light wipe of the outer ear or your vet has not recommended cleaning inside the canal. Before first use, ask your veterinary team to demonstrate the technique and confirm which product and frequency are suitable for your cat. Follow their directions and the product label for how much cleaner to apply, rather than estimating or trying to flush out debris. Hold the applicator at the canal entrance as demonstrated, without inserting it or letting the nozzle touch the ear. If instructed, gently massage the base of the ear for the recommended time, stopping immediately if your cat shows pain or distress. Release the ear flap and let your cat shake their head naturally, keeping your face back and a towel nearby to catch splashes.
- Use only the cleaner your vet approves
- Follow the demonstrated technique
- Keep the nozzle out of the canal
- Stop at any sign of pain
- Allow natural head shaking
Good to know: Never substitute a different cleaner without checking with your vet, especially if your cat is receiving treatment for an ear problem.
- 6
6. Remove loosened debris and finish gently
After your cat has shaken their head, use a fresh dry pad to wipe away any loosened material that has reached the visible ear flap or canal entrance. Keep your fingers and the pad outside the canal, and do not twist gauze into a point to reach further inside. Blot moisture from the accessible outer ear rather than rubbing the skin repeatedly. Do not repeat applications simply to make the ear look spotless, as unnecessary handling and moisture can irritate it. If the other ear genuinely needs cleaning and your cat remains relaxed, repeat the appropriate steps with fresh pads. If your cat has had enough, finish the session and leave the second ear for another time unless your vet has given a treatment schedule, in which case ask how to manage an incomplete clean.
- 7
7. Stop and seek help when something is not right
Stop cleaning immediately if your cat cries out, becomes suddenly defensive or shows obvious discomfort when the ear is touched. Do not try to remove an object, a firm plug of debris or material lodged deep inside the canal; contact your vet instead. If you see fresh blood or swelling, or your cat keeps shaking their head after the session, seek veterinary advice promptly. A new head tilt, loss of balance or difficulty walking needs urgent veterinary assessment rather than further home cleaning. If an unsuitable substance has entered the ear, contact your vet promptly with the product name and do not attempt to rinse it out yourself. When stress alone prevents cleaning, arrange a veterinary demonstration or supervised clean rather than trying stronger restraint.
- Pain or bleeding: stop and contact your vet
- Deep debris or an object: leave in place
- Persistent head shaking: seek advice
- Head tilt or poor balance: urgent vet assessment
- 8
8. Reward your cat and monitor afterwards
Offer a small treat or a favourite calm activity, then let your cat move away and settle somewhere comfortable. Dispose of used pads, wash your hands and close the cleaner securely, following its storage and applicator-cleaning instructions. Check your cat’s comfort later that day and contact your vet if scratching, redness, discharge or repeated head shaking develops or continues. Do not schedule routine cleaning for healthy ears unless your vet recommends it, as cleaning too often can cause irritation. If your vet has advised ongoing care, record cleaning dates and any changes, and follow the agreed schedule rather than increasing the frequency yourself. Where prescribed ear treatment is also being used, ask your vet how cleaning should fit around it and do not change or stop that treatment without advice.
Good to know: A brief note about what you saw and how your cat reacted can help your vet adjust the home-care plan.



Ask about this guide
Leave a comment or a question about your own pet and the Pawlito assistant replies right away with practical next steps.