How to Teach Your Cat to Accept Gentle Paw Handling
Build voluntary cooperation for paw checks using short sessions, clear stop signals, and rewards before introducing any grooming tools.
- Written by
- Pawlito Editorial Team · AI-assisted guide
- Professional review
- Not yet reviewed by a veterinarian
- Published
- Last updated
In this guide (7 steps)
Step 1: Check comfort before beginning
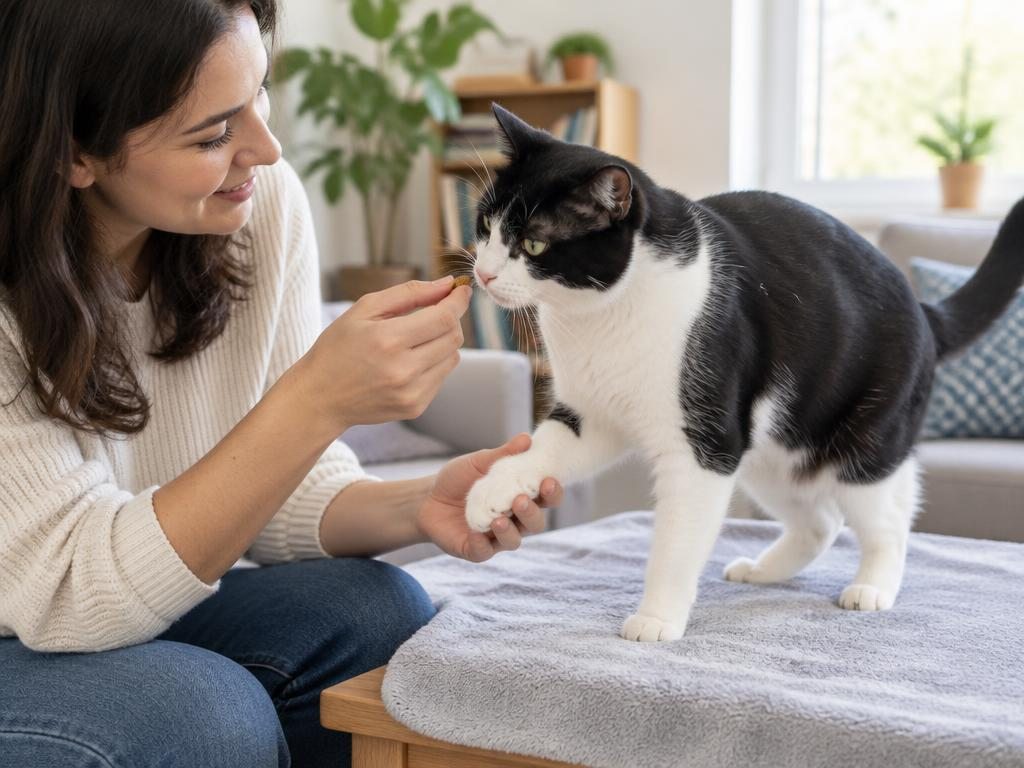
Paw handling practice prepares your cat for routine checks; it is not a way to treat an injury. Choose a time when your cat is awake and relaxed. If a paw is swollen, bleeding, unusually warm, or painful, arrange veterinary care instead. Gather small rewards and place a non-slip towel on a low, stable surface, or work on the floor if your cat prefers it.
Good to know: Never hold a struggling cat down to finish a training exercise.
Step 2: Create a voluntary starting position
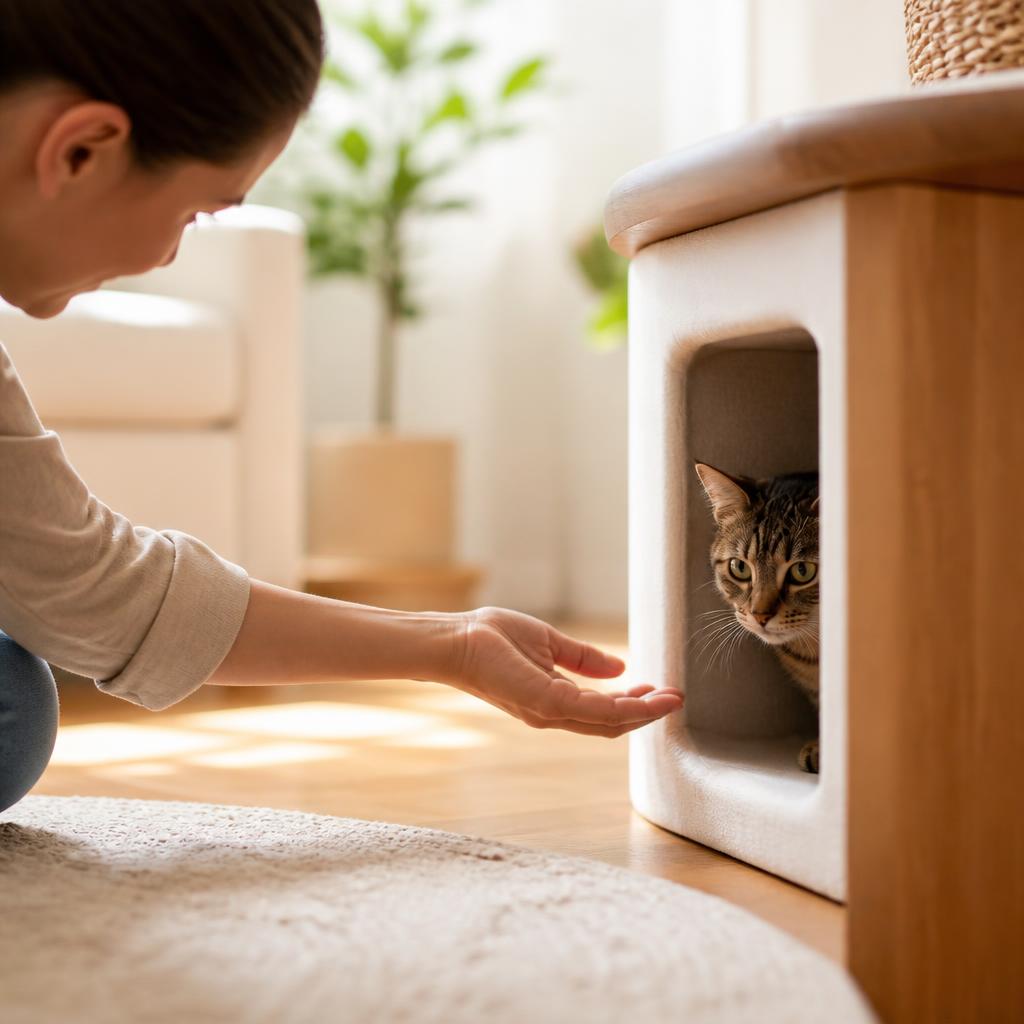
Reward your cat for standing or sitting on the towel, then allow them to walk away. A familiar position makes sessions predictable. Begin without touching paws so the location does not immediately mean restraint. Keep other pets out of the room. If your cat hides when the towel appears, use a different comfortable surface and start with quiet company rather than another handling attempt.
Step 3: Pair shoulder touches with rewards
Briefly touch a shoulder or upper leg where your cat normally accepts contact, then deliver a reward and remove your hand. Repeat only while their body stays soft. Gradually work lower down the leg over separate sessions. Watch for tail lashing, ears turning back, skin twitching, or the head turning sharply toward your hand. These signals mean you should pause or make the next touch easier.
Step 4: Introduce a momentary paw touch
Touch the top or side of one paw briefly, mark calmly, and reward. Do not grab, lift, squeeze toes, or attempt a trim yet. If your cat moves the paw away, respect that withdrawal and stop contact. Return to upper-leg touches next time. Progress should follow your cat’s comfort, not a schedule or the amount of grooming you hoped to finish.
Step 5: Build support without restraining
Once light contact is easy, rest an open hand underneath the paw for a moment without enclosing it. Reward before removing your hand. Later, invite a slight lift while keeping the leg close to its natural position. Avoid pulling the limb outward or twisting the wrist. Practice one paw at a time; a cat may tolerate front paws well but need much slower work on rear paws.
Step 6: Separate toe checks from tools
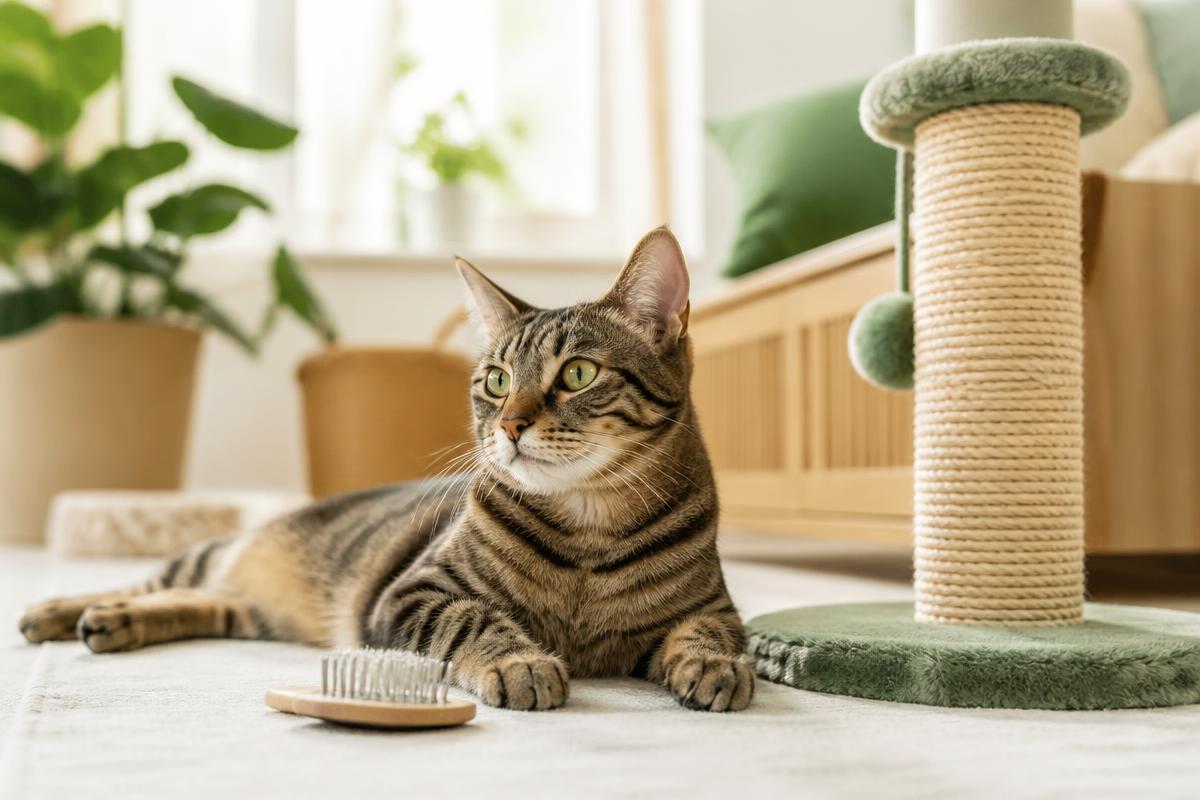
When supported handling is comfortable, briefly inspect the spaces around the toes for visible debris without digging at skin. Introduce any grooming tool in a different exercise: let your cat see and sniff it, then reward. Do not surprise them with clipping during a paw-touch session. If claws, mats, or lodged material need urgent attention, ask a professional rather than rushing training.
Good to know: Never cut into a paw pad or pull deeply embedded material out yourself.
Step 7: Maintain trust with brief refreshers
Finish after a few comfortable repetitions and release your cat before they become irritated. Occasional easy practice keeps the experience familiar even when no grooming is needed. Sudden resistance after previous cooperation can indicate pain, stress, or a change in surroundings. Stop and investigate instead of assuming disobedience. Veterinary or qualified feline behavior support can help if handling remains distressing.
This guide was drafted with AI assistance and published by the Pawlito team. It has no formal source list yet. Spotted an error? Tell us and we'll correct it. Read our editorial policy.
Ask about this guide
Leave a comment or a question. Comments are public, so use a first name only and don't include emails, phone numbers or addresses. An automated assistant may reply straight away with general suggestions — it can't diagnose your pet.