How to Trim Your Dog's Nails at Home
Make nail trims calmer and safer with a step-by-step routine for handling paws, avoiding the quick and knowing when to stop.
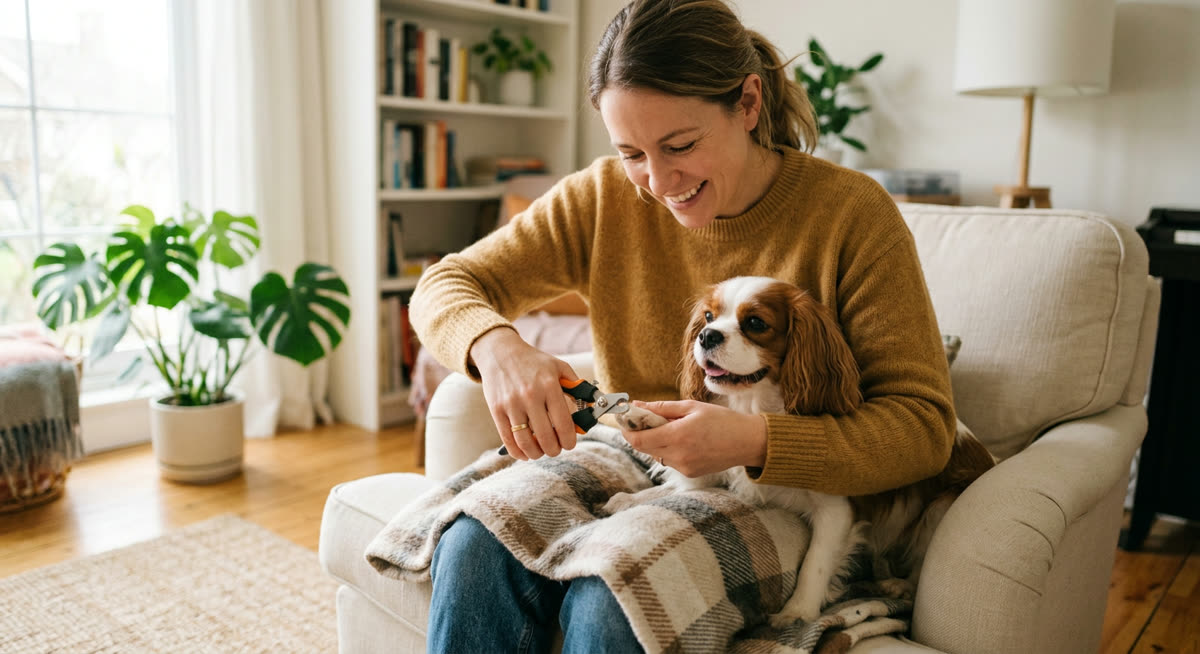
A calm, safety-first approachThis guide provides general education. Contact your veterinarian when symptoms are painful, persistent, or unusual.
- 1
1. Check whether a home trim is suitable
Look at your dog’s nails while they are standing naturally on a firm, level surface, then gently inspect each paw if they are comfortable being touched. Nails that click on hard floors or catch on fabric may need attention, but these signs alone do not tell you how much to remove. Check for split nails, bleeding, swelling, persistent licking or reluctance to put weight on a paw. Contact your vet before trimming if you notice these changes, or if a nail is curling towards or growing into a pad. If your dog has previously panicked, snapped or bitten during nail care, arrange professional help rather than attempting to restrain them at home. For a comfortable dog with healthy-looking paws, plan a short session and accept that trimming just one nail can be a useful start.
- Check nails and surrounding skin
- Look for nails approaching the pads
- Notice discomfort or handling worries
- Seek veterinary advice for abnormalities
Good to know: Take a clear photograph of any concerning nail before calling your vet, provided doing so does not upset your dog.
- 2
2. Set up your tools and trimming space
Choose a quiet, well-lit area with a non-slip mat so your dog can stand or lie down without sliding. Use sharp dog nail clippers sized for your dog’s nails, as blunt or unsuitable cutters can crush or splinter the nail. Place a hand-held nail file, small treats, clean gauze and your vet’s contact details within reach before bringing your dog over. If your clippers have a safety guard, treat it only as a positioning aid because it cannot detect the sensitive tissue inside the nail. Have a calm helper offer treats if useful, but make sure everyone understands that they must not pin your dog down. Keep children and other pets out of the space so you can concentrate on the paw and the cutting angle.
- Sharp, correctly sized dog nail clippers
- Bright light and a non-slip mat
- Small treats and a nail file
- Clean gauze and vet contact details
Good to know: Set everything on the same side as your cutting hand so you do not have to reach across your dog during the trim.
- 3
3. Build comfort with paw handling and clippers
Begin without cutting by letting your dog see the clippers from a comfortable distance, then offer a small treat. Touch a shoulder or leg briefly, reward relaxed behaviour, and gradually work towards touching the paw. Practise holding the paw for a second or two, releasing it before your dog feels the need to pull away. Once this is comfortable, touch a closed clipper to a nail and reward your dog without making a cut. Introduce the sound of the clippers separately by opening and closing them away from the paw. Spread this preparation over several sessions if necessary, and move on only when your dog remains relaxed and willingly stays with you.
- Reward seeing the clippers
- Practise brief paw touches
- Build up to a gentle paw hold
- Introduce clipper contact and sound separately
Good to know: Keep practice sessions to a minute or two and finish while your dog is still comfortable.
- 4
4. Position your dog and support one paw
Let your dog stand, sit or lie on their side according to whichever position they find most comfortable. Work at floor level where possible, especially with dogs that may jump or wriggle off furniture. Lift one paw only as far as needed to see the nails, keeping the leg close to its natural position rather than twisting it outwards. Support the paw gently and separate the toes enough to expose the nail you intend to trim. Move long fur away from the cutting area with your fingers before bringing the clippers into position. Put the paw down immediately if your dog struggles, and adjust your approach rather than tightening your grip.
Good to know: Check that both you and your dog are balanced before lifting a paw, as an awkward posture can make gentle handling much harder.
- 5
5. Identify the quick and choose a tiny first cut
Examine the nail from the side and underneath to identify its curved tip and, where visible, the quick, which contains blood vessels and nerves. In pale nails, the quick often appears as a pink area inside the nail, so leave several millimetres of nail in front of it rather than cutting close. In dark nails, assume the quick is hidden and plan to remove only a very thin sliver from the end. Do not use another nail’s length as your cutting guide because the quick’s position can differ between toes. Long nails may have long quicks, so do not try to shorten them to an ideal length in one session. If you cannot confidently identify a safe starting point, ask your vet or an experienced groomer to demonstrate before you cut.
- Look from the side and underneath
- Leave a margin ahead of visible pink tissue
- Take tiny slivers from dark nails
- Assess every nail individually
Good to know: Good lighting helps with pale nails, but shining a torch through a dark nail is not a reliable way to locate the quick.
- 6
6. Trim gradually, checking after every cut
Position the clipper blades across the very end of the nail so they remove only the selected tip, with all skin and fur clear of the blades. Hold the supported paw steady and make one controlled cut without twisting the clippers. Release the paw briefly, reward your dog, and inspect the freshly cut surface before deciding whether another sliver is safe. On dark nails, a darker central spot within a lighter cut surface can warn that you are approaching the quick, so stop rather than cutting through it. Do not rely on that sign appearing, and stop earlier whenever you are unsure how much nail remains. Check for dewclaws higher up the inside of the legs, including any on the hind legs, and trim them only if they need it and you can clearly see a safe cutting area.
Good to know: Reassess your dog’s comfort after every nail instead of treating all four paws as a single task to finish.
- 7
7. Pause when your dog or the tools need a reset
Watch for repeated paw pulling, a tucked tail, trembling, freezing, lip licking, growling or attempts to leave. Stop cutting when these signs appear, put the paw down and give your dog space without scolding or insisting on one more nail. A dog who suddenly refuses treats or becomes unusually still may also be uncomfortable, even if they are not struggling. If a clipper snags or leaves a rough cut, stop to check its sharpness and suitability rather than squeezing harder on the next nail. Leave the remaining nails for another day if your dog does not settle, and return to short handling practice before trying again. Contact your vet about sudden pain or a new handling reaction, and seek professional support if nail care remains frightening or unsafe.
- Pause for pulling, freezing or growling
- Release the paw rather than restraining harder
- Check tools that snag or crush
- Leave unfinished nails for another session
- 8
8. Respond calmly if a nail bleeds
If you accidentally cut the quick, stop the trim immediately and keep your dog as calm and still as possible. Hold clean gauze firmly against the bleeding nail for five uninterrupted minutes, provided your dog allows this safely. Avoid lifting the gauze repeatedly to check, as doing so can disturb the forming clot. Contact your vet promptly if bleeding continues after that pressure, restarts repeatedly, or the nail appears torn or split. Seek urgent veterinary help for heavy bleeding, weakness or marked distress, and do not attempt to pull off a damaged piece of nail. Do not apply a tight home-made bandage or continue trimming other nails once bleeding has stopped.
- Stop trimming immediately
- Apply uninterrupted pressure with clean gauze
- Call your vet for persistent bleeding
- Seek urgent help for heavy bleeding or weakness
- 9
9. Smooth the edges and plan the next check
After an uncomplicated trim, gently smooth any sharp edges with a hand-held nail file if your dog remains comfortable with paw handling. Check each paw for missed nails and rough tips, but leave anything uncertain rather than taking an extra cut for neatness. Reward your dog, let them move away freely, and clean and dry your tools according to the manufacturer’s instructions. If you caught the quick, skip filing that nail, keep the paw clean and dry, avoid rough activity initially, and watch for renewed bleeding. Contact your vet if you later notice limping, persistent licking, swelling, discharge or continued tenderness. Check nail length weekly and adjust future trimming intervals to your dog’s growth and wear, asking your vet or groomer for a gradual plan if the nails are very long.
Good to know: Record the date and which nails you trimmed so you can spread the work across short sessions without losing track.



Ask about this guide
Leave a comment or a question about your own pet and the Pawlito assistant replies right away with practical next steps.