How to Arrange a Cage for a Bird With Limited Mobility
Create an accessible cage with safe low perches, easy food access, and supportive routines tailored to your bird’s mobility needs.
- Written by
- Pawlito Editorial Team · AI-assisted guide
- Professional review
- Not yet reviewed by a veterinarian
- Published
- Last updated
In this guide (7 steps)
Step 1: Start with an avian veterinary assessment
Seek an individualized avian veterinary assessment before major changes, especially for new or worsening limitations. Weakness, pain, impaired gripping, and balance problems need different support; cage adjustments cannot replace treatment. Ask about perches, heights, surfaces, activity limits, and urgent warning signs. Describe difficult movements and share videos if useful. Do not copy another bird's setup or assume rest alone will address the underlying problem.
Good to know: Bring cage photographs and measurements so recommendations fit the actual living space.
Step 2: Reduce climbing and fall distance
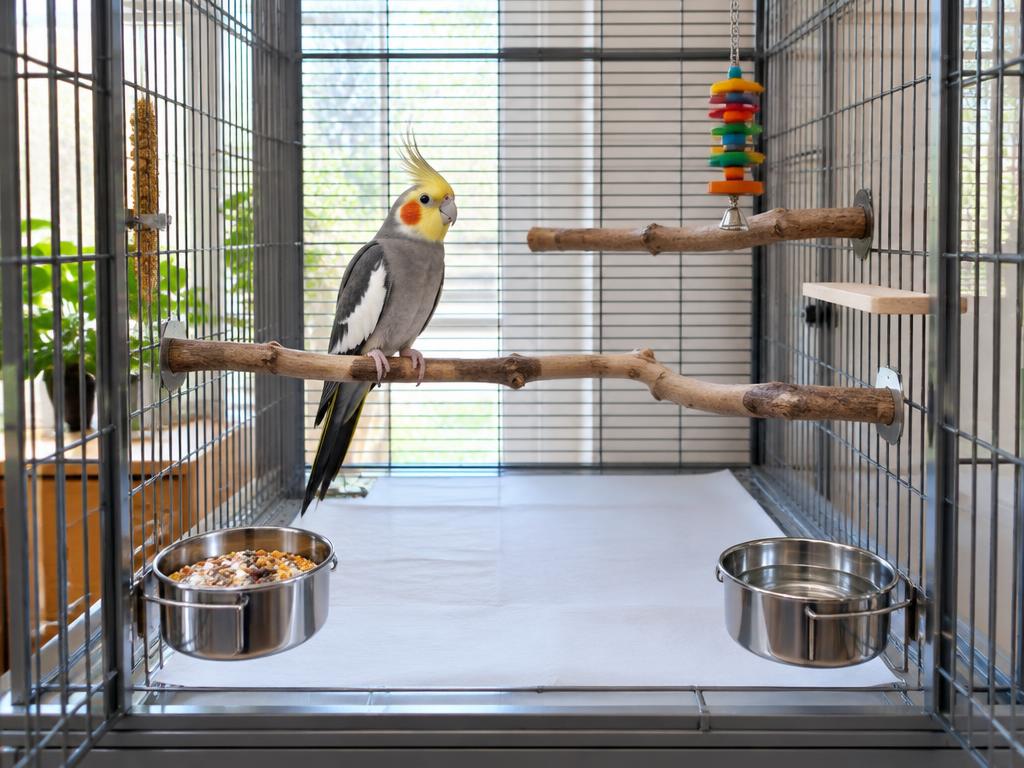
Keep essential resources within a compact accessible area rather than multiple heights. Secure low perches with enough clearance from waste. Choose heights according to veterinary guidance and individual balance, not a universal measurement. Remove high attractions encouraging unsafe climbs while preserving space. Arrange service doors and bowls to avoid repeatedly relocating your bird or leaving it near open edges.
- Provide short stable routes without swinging obstacles.
- Do not improvise fall protection with loose towels or deep bedding.
Step 3: Provide supportive resting surfaces
Use shapes and diameters suited to grip and consider a stable platform when recommended. Avoid rough edges, trapping gaps, abrasive sandpaper, and unstable wraps. Coverings must suit the individual, be inspectable, and be replaced before dampness or soiling. Observe weight distribution. Persistent redness, sores, swelling, or reluctance to bear weight needs veterinary review, not increasingly padded homemade fixes.
Good to know: Test fixtures firmly before use and observe whether they shift during transfers.
Step 4: Make bowls reachable without stretching
Attach food and water beside the main resting area at a comfortable posture. Avoid hanging upside down, balancing on narrow rims, and unstable bridges. Choose bowl shapes without deep-water hazards, taking veterinary advice for severely impaired birds. Keep bowls below no droppings-producing perches. Observe actual eating and drinking because proximity alone does not guarantee access.
- Add feeding locations if travel is difficult.
- Track intake and weight according to the veterinary plan.
Step 5: Keep the floor clean and predictable
Ask whether the grate should stay, be covered, or be removed for this individual. Exposed surfaces must avoid foot-trapping gaps and support cleaning. Plain paper can show droppings but may slip or be shredded, so observe its use. Avoid dusty substrates, loose fibers, and absorbent materials that may be swallowed. Replace soiling promptly and keep the layout consistent to support confident movement.
Step 6: Offer enrichment without forced exercise
Place familiar lightweight enrichment within reach from stable rest. Easy foraging can use visible food in accessible containers instead of climbing puzzles. Reward voluntary movement only within the veterinary plan. Never withhold essentials, repeatedly relocate the bird to force movement, or demand exercise. Allow frequent rest and choice. Stop for strain, lost balance, avoidance, or poor recovery after activity.
Good to know: Rotate one accessible activity at a time without disrupting dependable routes.
Step 7: Review and adjust gradually
Observe eating, resting, turning, and transfers. Record slips, inaccessible resources, soiled feathers, or persistent staying in one place. Discuss observations at follow-ups rather than guessing causes. Change one feature at a time while retaining familiar safe elements. Sudden deterioration, breathing difficulty, bleeding, marked weakness, or inability to reach food and water needs prompt veterinary attention. This setup is support, not diagnosis or treatment.
This guide was drafted with AI assistance and published by the Pawlito team. It has no formal source list yet. Spotted an error? Tell us and we'll correct it. Read our editorial policy.
Ask about this guide
Leave a comment or a question. Comments are public, so use a first name only and don't include emails, phone numbers or addresses. An automated assistant may reply straight away with general suggestions — it can't diagnose your pet.