How to Inspect Bird Toys for Wear and Hazards
Check bird toys methodically for fraying, sharp edges, unsafe gaps, and worn hardware, then replace risky items before reuse.
- Written by
- Pawlito Editorial Team · AI-assisted guide
- Professional review
- Not yet reviewed by a veterinarian
- Published
- Last updated
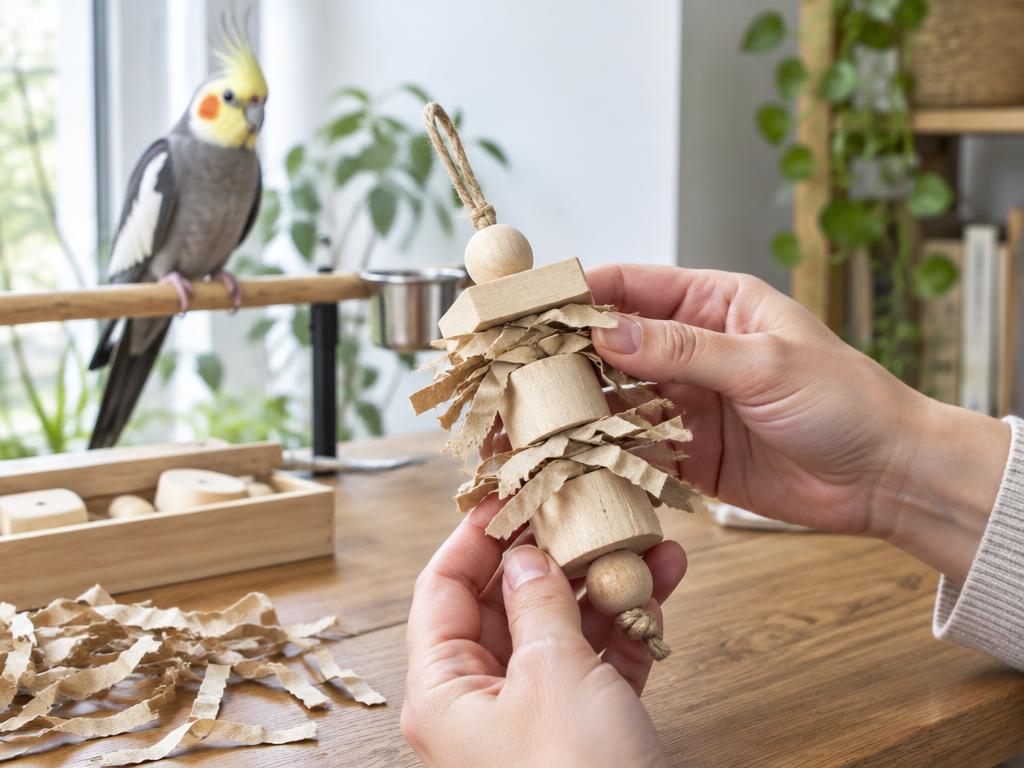
In this guide (7 steps)
Step 1: Remove toys for safe inspection
Inspect outside the cage with your bird safely separate. Secure doors and keep scissors, discarded fragments, and hardware inaccessible. Turn toys in good light to examine hidden surfaces and attachments. Daily visual checks catch sudden damage, while regular hands-on checks reveal wear beneath fittings. Increase frequency for strong chewers or changed play behavior. Return only items you have actually checked, not those that merely look familiar.
Good to know: Leave a familiar safe toy available while questionable items are removed.
Step 2: Examine fibers and loops
Look at rope, fabric, leather, and flexible parts for unraveling or loops trapping toes, legs, or heads. Watch for swallowing fibers rather than chewing alone. A bird-marketed product is not automatically suitable for every individual. Remove items with entanglement or ingestion risk; trimming visible strands may leave hidden weakness. Seek veterinary advice if material is missing and your bird seems unwell.
- Inspect beneath knots and through wooden holes.
- Remove loops that could tighten around a body part.
Step 3: Check clips and metal fittings
Inspect for bent wire, sharp ends, rough welds, corrosion, peeling coatings, and beak- or toe-trapping gaps. Confirm screw links close fully and cannot easily be opened. Avoid unknown metals and improvised hardware because composition may be unsuitable. Reputable stainless steel fittings still require inspection. Replace questionable components instead of assuming surface changes are harmless. If safe hardware cannot be verified, retire the whole item.
Step 4: Assess solid materials and loose pieces
Destructible toys are intended to wear, but sharp splinters, cracked plastic, internal hardware, and swallowable parts are hazards. Gently move pieces to reveal looseness without deliberately breaking them. Avoid treated or salvaged materials of uncertain origin. A once-safe toy can become unsafe when larger sections disappear. Remove items once structural changes expose dangers or make remaining pieces unstable.
Good to know: A photo of the new toy can help identify missing components later.
Step 5: Evaluate openings and placement
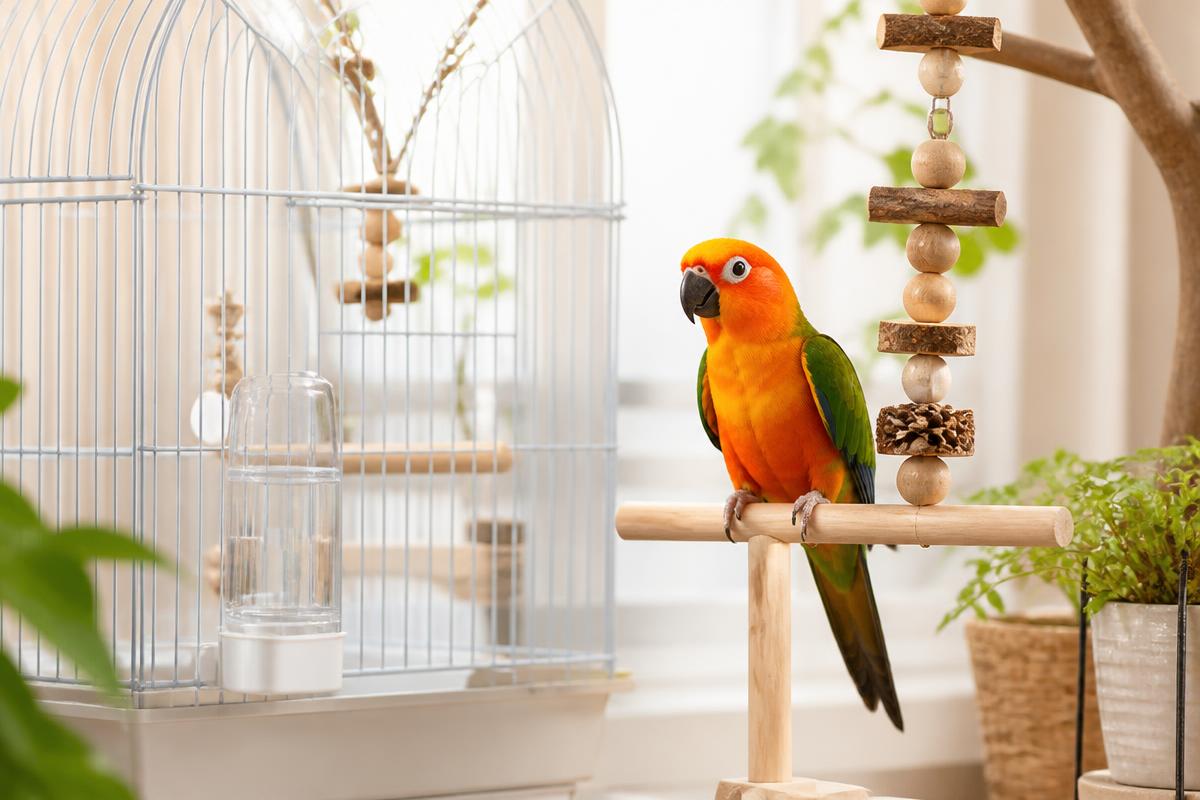
Consider your bird's actual size, strength, and play style, not only package labels. Check rings, chains, bells, and holes for head, beak, and toe entrapment; inspect loose bell clappers too. After hanging, confirm bowls and routes remain accessible and toys cannot swing into perches. Avoid crowded clusters where feet can tangle. Reevaluate following growth or mobility changes.
- Check from normal climbing and hanging positions.
- Reassess fit after injury or mobility changes.
Step 6: Clean and retire unsafe items
Follow cleaning directions for each material. Remove food and droppings promptly. Discard porous items that stay damp, mold, or cannot be cleaned properly. Rinse washable parts and dry fully. Cleaning cannot restore structural safety or make unknown materials suitable. Do not improvise repairs with tape, household glue, staples, or spare fittings unless materials and construction are verified appropriate for bird use.
Good to know: Use a clearly designated discard container so damaged pieces cannot return accidentally.
Step 7: Observe replacement use
Introduce replacements gradually and supervise first interactions, especially unfamiliar materials. Reward calm investigation without pressing the toy against your bird or a favored resting place. Observe connector picking, head threading, and fragment ingestion. Remove hazards even if other birds use the same model safely. Continue inspection because determined chewing can change safety in a single session. Product reputation does not replace observation of your own bird.
This guide was drafted with AI assistance and published by the Pawlito team. It has no formal source list yet. Spotted an error? Tell us and we'll correct it. Read our editorial policy.
Ask about this guide
Leave a comment or a question. Comments are public, so use a first name only and don't include emails, phone numbers or addresses. An automated assistant may reply straight away with general suggestions — it can't diagnose your pet.